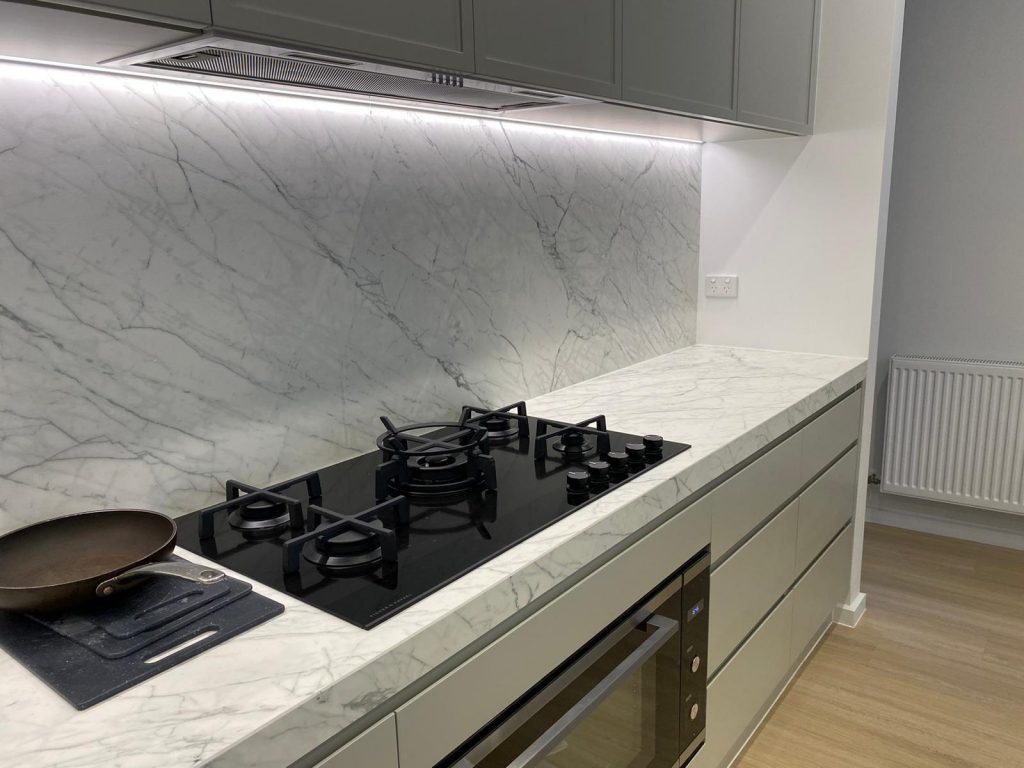

A kitchen splashback protects the wall behind your hob, sink and worktop from cooking grease, food stains, steam and water. Because it sits in one of the busiest areas of the kitchen, it can quickly become sticky, streaky or discoloured.
The safest way to clean a kitchen splashback is to identify its material and use the gentlest effective method. Glass, acrylic, tile, natural stone and stainless steel require different care. A cleaner that works well on glass may damage acrylic, stone, grout or a decorative coating.
What Is the Best Cleaner for a Kitchen Splashback?
For many splashbacks, the best everyday cleaner is a simple mixture of warm water and a few drops of mild washing-up liquid.
You will also need:
- Two clean microfibre cloths
- A soft, non-scratch sponge
- A soft toothbrush or grout brush
- A squeegee for plain glass
- A pH-neutral cleaner for natural stone
Use one cloth to wash and another to dry. Too much detergent or a greasy cloth can leave visible streaks.
Before using any new product, test it on a small, discreet area and check the splashback manufacturer’s care instructions.
1. How to Clean a Glass Splashback
Glass splashbacks are non-porous and usually easy to maintain. Their main problems are grease, fingerprints, food splashes and water marks.
To clean a glass splashback:
- Allow the surface to cool after cooking.
- Wipe away loose food and dust.
- Apply warm water with a small amount of washing-up liquid.
- Leave the solution on greasy areas for one or two minutes.
- Wipe with a soft microfibre cloth.
- Rinse with clean water.
- Dry with a lint-free cloth or squeegee.
For dried-on food, hold a warm, damp cloth over the mark for several minutes before wiping. Avoid aggressive scraping.
Diluted white vinegar may be suitable for some plain-glass splashbacks, but it should not be treated as a universal cleaner. Avoid vinegar on coated, printed, mirrored or decorative glass unless the manufacturer approves it. Keep acidic cleaners away from natural-stone worktops, grout and sealant.
Do not use steel wool, razor blades, scouring powders, rough pads or oven cleaner on glass splashbacks.
2. How to Clean an Acrylic Splashback
Acrylic splashbacks are lightweight and attractive, but they scratch more easily than glass and may be damaged by solvents or excessive heat.
Use lukewarm water, mild washing-up liquid and a soft cloth. Wipe gently, rinse and dry without applying heavy pressure.
Never use:
- Steel wool
- Scouring cream
- Acetone or nail-polish remover
- Paint thinner
- Oven cleaner
- Concentrated bleach
- Rough sponges
- Razor blades
To remove dried food, soften it with a warm, damp cloth. Do not pick or scrape the surface.
A specialised acrylic polish may improve minor scratches on some uncoated panels, but it can affect printed, mirrored or textured finishes. Always test it first.
Acrylic must also be kept a safe distance from heat. Do not install it directly behind a hob unless the product is specifically approved for that location. Follow both the cooker and splashback manufacturers’ clearance requirements. Heat-damaged acrylic may warp, bubble, crack or become discoloured.
3. How to Clean Tile and Grout
Ceramic and porcelain tiles are generally durable, but grout lines and silicone joints need extra care.
Clean tiled splashbacks with warm water, mild washing-up liquid and a soft sponge. Use a soft brush on textured tiles or around grout lines.
For grout:
- Apply warm soapy water.
- Leave it for approximately five minutes.
- Brush gently.
- Rinse thoroughly.
- Dry the area.
Baking soda may help clean some cement-based grout, but it is mildly abrasive and is not suitable for every surface. It may affect coloured grout, polished tiles, natural stone or an existing sealer.
Not all grout needs sealing. Traditional cement grout may benefit from a suitable penetrating sealer, while epoxy and some modern premixed grouts do not. Identify the grout type before applying anything.
Inspect tiled splashbacks regularly for cracked grout, loose tiles, failed silicone or moisture behind the surface. Cleaning will not repair damaged joints.
4. How to Clean a Natural-Stone Splashback
Marble, limestone, travertine and other natural stones require special care.
Use a pH-neutral cleaner made for the specific stone. Apply it with a soft cloth, rinse as directed and dry the surface.
Never use vinegar, lemon juice, acidic limescale remover or harsh grout cleaner on natural stone. Acidic products can etch the surface, leaving permanent dull or pale marks.
Clean oil, tomato sauce, curry and coloured food quickly because porous stone and grout can absorb stains.
If a marble splashback has a dull patch that does not disappear after cleaning, it may be etched rather than dirty. Professional polishing may be required.
5. How to Clean a Stainless-Steel Splashback
Stainless steel is durable and hygienic, but it easily shows fingerprints, grease and water spots.
To clean it:
- Identify the direction of the grain.
- Wipe with warm water and mild detergent.
- Work in the direction of the grain.
- Rinse with clean water.
- Dry immediately with a fresh microfibre cloth.
Avoid chlorine bleach, chloride-based cleaners, steel wool, harsh scouring powders and metal brushes. These products may cause scratching, contamination, pitting or corrosion.
Many apparent stains on stainless steel are simply mineral deposits left after water dries, so always finish by drying the surface.
Common Splashback Cleaning Mistakes
Avoid these common problems:
- Using the same cleaner on every material
- Applying too much detergent
- Scrubbing before softening dried residue
- Spraying liquid directly around sockets
- Mixing cleaning chemicals
- Ignoring edges, grout and silicone
- Treating scratches, etching or corrosion as dirt
Never mix bleach with vinegar, ammonia, descalers or other household cleaners. Dangerous vapours may be released.
Around electrical sockets and switches, apply cleaner to the cloth rather than spraying the surface directly.
How Often Should You Clean a Splashback?
After Cooking
Wipe away fresh grease, sauce, water and strongly coloured food. This normally takes one or two minutes and prevents stubborn build-up.
Once a Week
Clean the full splashback, including the lower edge, corners, grout lines and the area around sockets.
Once a Month
Clean textured areas, inspect silicone and grout, check behind appliances and look for heat damage, loose tiles or trapped moisture.
Every Six to Twelve Months
Review the condition of grout, sealant and protective treatments. Replace failed silicone and arrange repairs for cracks, corrosion, etching or loose panels.
The Final Advice
The best way to maintain a kitchen splashback is simple: identify the material, clean spills promptly, use the mildest suitable product, rinse away residue and dry the surface properly.
Strong chemicals are rarely necessary. Regular light cleaning is safer and more effective than allowing grease and stains to build up and then using abrasive tools or concentrated products.
With a quick wipe after cooking and a careful weekly clean, most kitchen splashbacks can remain hygienic, attractive and in good condition for years.